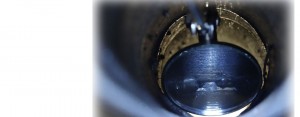
Visual inspection is carried out on 100% of the component under examination, prior to any form of NDT. Welding/visual inspection requires the use of the following:-
- Torches/lighting capable of producing a minimum 500 LUX at the viewing area.
- Fillet weld gauges – these are a simple gauge to determine if desired fillet weld has been achieved.
- CAM gauges – These gauges are used to measure the actual leg length and throat thickness of fillet welds. They can also be used to access weld defects such as: underfill and undercut on fillet welds and butt welds. Prior to welding, butt welds the bevel/prep angle can also be measured.
- Pin/Profile gauges – These can be used to evaluate weld profiles in awkward access areas or places where cam/fillet gauges cannot be applied successfully.
Visual testing standards mainly used are;
ISO 17637 – Non- destructive testing of welds – Visual examination of fusion welded joints.
ISO 5817- Welding -fusion welded joints in steel, nickel, titanium and their alloys (beam welding excluded) – Quality levels for imperfections.
Visual Inspection
